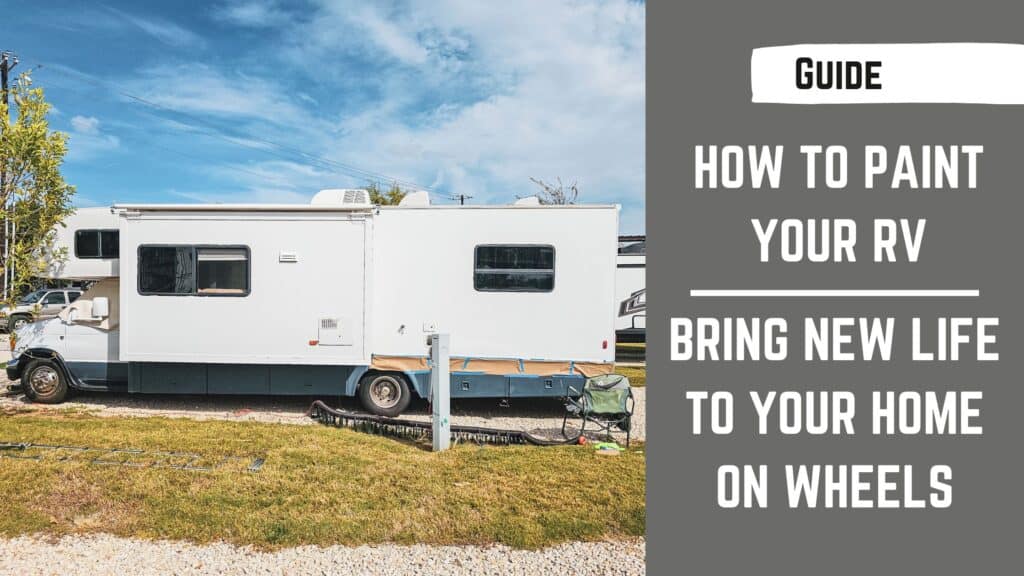
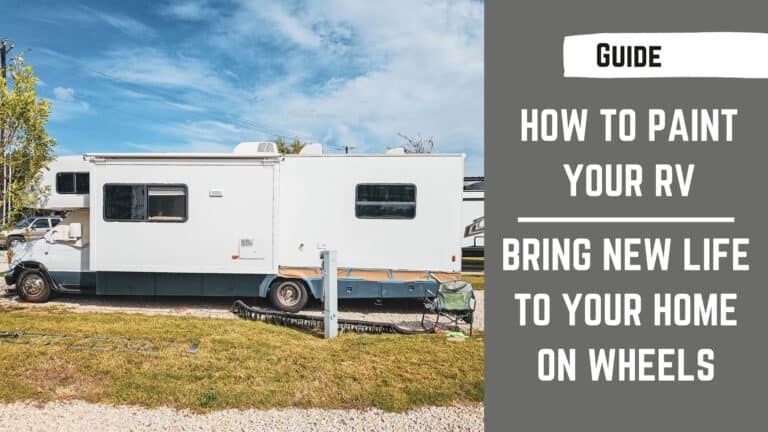
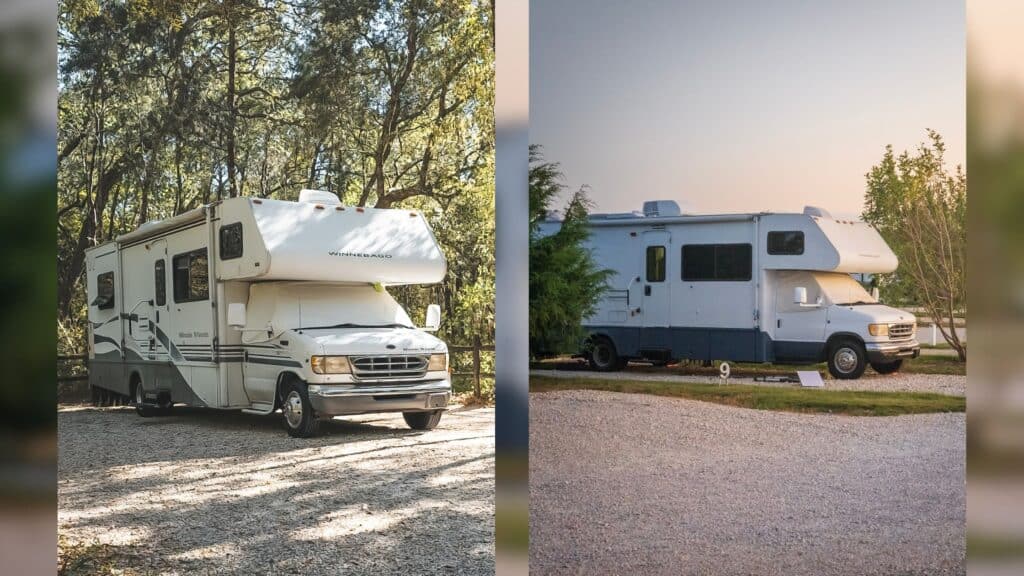
Let’s face it, older RVs face a lot of stigma in our society. They are not viewed the same way as new RVs, bus conversions, or campervans. The stereotype of the rolling meth lab is something older RVs have to deal with everywhere they go. The faded decals, sun-stained exterior, and age-related damages can really affect how people view an RV. This stereotype obviously isn’t true. We believe that older RVs are the best way to get started traveling. Most of the time, all an RV needs is a fresh coat of paint. Learning how to paint an RV is easier than most think it is.
We’ve built out two skoolies and a campervan, yet our 24-year-old RV is our favorite rig, and we have lived in and traveled in it. The advantages of older RVs are massive, and they offer a cheap way for anyone to start vanlife and get out traveling. We bought our 24-year-old RV for just $7,500, and it was ready to go and live in immediately. Most skoolie or campervan builds can take at least 6 months to finish, and the base vehicle costs the same to significantly more than our ready-to-go RV.
Our RV definitely looked its age. It wasn’t the best-looking RV out there. Yet, with some sanding and a fresh coat of paint, our 24-year-old RV looks almost brand new again. Plus, we no longer get asked how old our rig is at RV parks.
Supply List For Painting Your RV
- Rustoleum exterior paint
- Foam rollers and tray
- Sandpaper (80 & 120 grits)
- Degreaser
- Painter’s tape
- 3M eraser wheel & drill (optional)
- Clean rags
- Protective gear (gloves, mask, safety glasses)
Total Estimated Cost: $250-$350
Step 1: Decal Removal – The Most Challenging Part
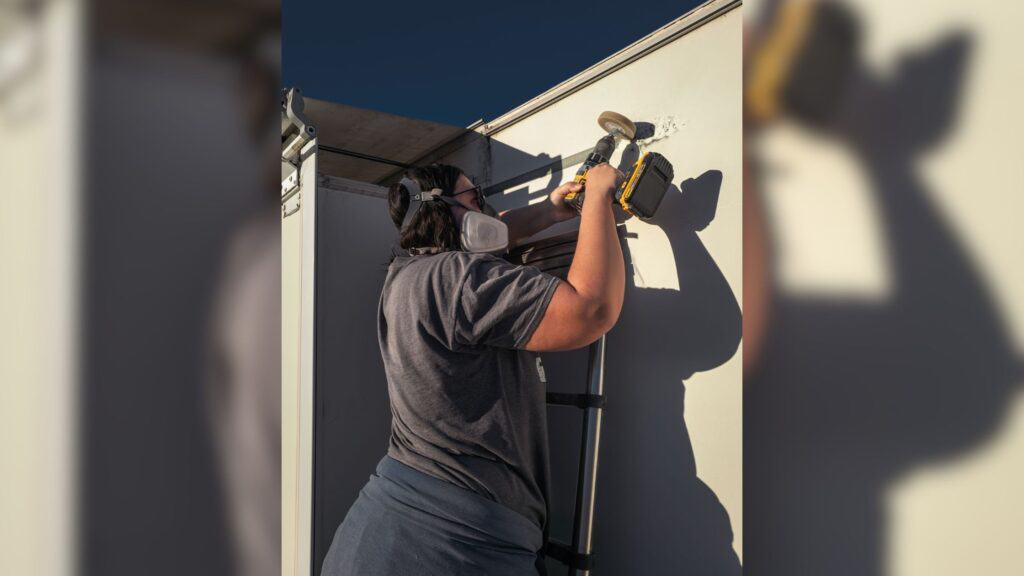
Removing old decals is often the most time-consuming step of RV painting. Depending on your RV’s condition, you have two main approaches. The first method involves using a 3M eraser wheel, which works best for decals in decent condition. This tool attaches to a drill and quickly removes decals without damaging the surface.
The alternative method is sanding, which becomes necessary for sun-damaged or baked-on decals. This approach requires more time and patience but ensures an entirely smooth surface. Sanding is particularly useful when decals have become brittle or have been exposed to years of harsh sunlight.
We tried painting right over the decals and found that while the paint did cover them decently, you could still clearly see the outlines of the decals. We did not like how this looked and decided to take the time to sand the decals off properly, leaving a much cleaner and smoother appearance that we love.
Pro Tip: Take your time during decal removal. Rushing this step can lead to uneven surfaces and poor paint adhesion.
Step 2: Surface Preparation – The Key to a Flawless Finish
Proper preparation makes the difference between a professional-looking paint job and a DIY disaster. Begin by thoroughly cleaning the entire RV with soap and water. We used Boat Soap with great success. The boat soap removed years of road grime while being gentle and environmentally friendly. Follow this with a degreaser to remove stubborn dirt and grime that soap and water couldn’t remove. ZEP provisional degreaser worked the best for us. Then, allow the surface to dry completely.
Sanding is the next critical step. The goal is to create a slightly rough surface that allows for better paint adhesion. Start with coarse-grit sandpaper and finish with fine-grit to create a smooth, paint-ready surface. After roughing up the surface, go back over the entire RV with soap and water to ensure there is no dust from sanding.
Masking is equally important. Use painter’s tape to protect windows, light fixtures, trim, and any areas you don’t want painted. Take your time with this process to ensure clean, sharp lines and prevent accidental paint application.
Step 3: Choosing the Right Paint
Types of RV Exterior Paint
Not all paints are created equal when it comes to RV exteriors. You’ll want a paint specifically designed to withstand extreme conditions, including intense sunlight, temperature fluctuations, and constant exposure to the elements. Automotive and marine-grade paints offer the best protection for your home on wheels but come at a higher price. Any quality outdoor paint should do the trick. We used Rust-Oleum Flat White Enamel paint for our RV.
Why We Recommend Rustoleum
Rustoleum stands out as a top choice for RV painting for several compelling reasons. First, its durability is unmatched in the DIY paint market. The paint creates a robust protective layer that resists chipping, fading, and wear. Its formulation is designed to adhere to various surfaces common in RV exteriors, including fiberglass, aluminum, and painted surfaces. We’ve used Rust-Oleum on both Skoolies and RVs and have always been very happy with the outcome.
Paint Finish Considerations
Multiple paint finish options exist, each with its own pros and cons. A glossy finish provides maximum shine and highlights the RV’s lines and contours, meaning every minor imperfection in the RV surface will be more visible. Gloss paint is also the easiest to clean. Satin finishes offer a more subdued look while providing excellent protection and are modestly easy to clean. Matte finishes can help hide minor imperfections but may require more maintenance to keep looking clean.
We went with a matte or flat finish as our 24-year-old RV has some delamination that we have not fixed yet. The flat paint hides all of the ripples and age-related imperfections. The finished result made our RV look almost brand new again.
Color Selection Strategies
When selecting a color, consider more than just aesthetics. Lighter colors reflect more sunlight and heat, potentially helping to keep your RV cooler. Darker colors can make your RV look sleek but absorb more heat. Consider your typical travel destinations and climate when making your choice.
Compatibility and Preparation
Ensure the paint you choose is compatible with your RV’s existing surface. Some paints require specific primers or may not adhere well to certain materials. Always check the manufacturer’s recommendations and perform a small test patch in an inconspicuous area before committing to a full paint job.
The Rust-Oleum paint we used could be painted straight onto our RVs fiberglass exterior without needing a primer.
The Painting Process: A Detailed Walkthrough
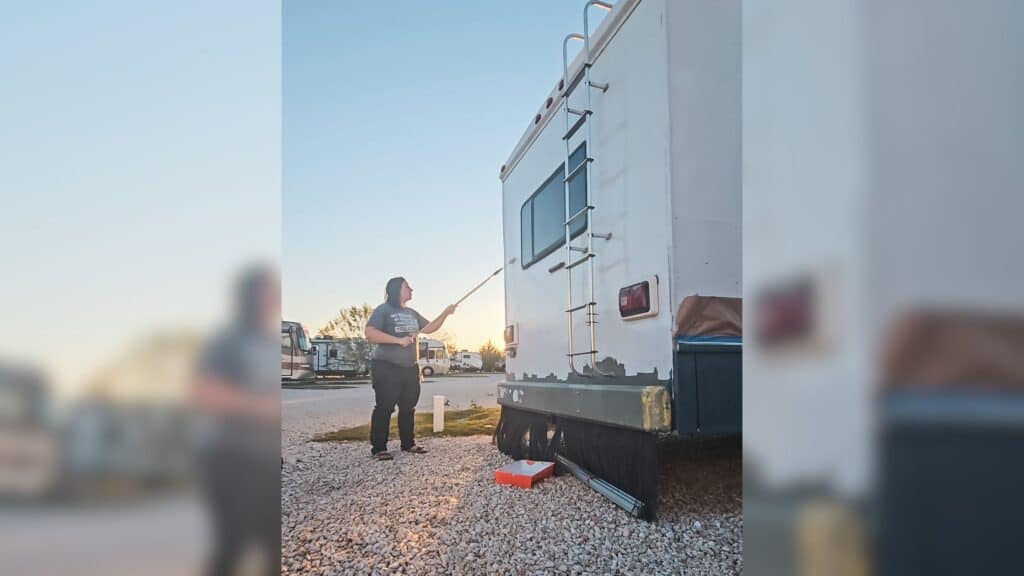
The prep work is the hardest part of painting an RV. A good paint job is 80% prep and 20% actual painting. Once you have removed all the decals, washed your RV, scuffed up the surface, and cleaned it one last time, the only thing left is to lay down your paint of choice.
We used a foam roller to paint our RV and highly recommend it. The foam roller provided a clean finish without brush strokes and made it easy to apply the paint. Just pick a side of the RV and start rolling on the paint. We got one side of our 30-foot RV painted with two coats in about two hours. Once the paint was dry to the touch, the second coat went on, along with touch-ups. The actual process of painting an RV is straightforward. It’s just the prep that takes a lot of work and time.
No matter your experience level, you have this and can bring your older RV back to life and looking new again.
Maintenance Tips After Painting
Establish a regular maintenance routine to protect your newly painted RV. Wash the RV regularly with a mild automotive or boat soap, avoiding harsh chemicals. Apply a quick wax coat annually to maintain the paint’s shine and protection. When not in use, store the RV under a cover or in a sheltered area to minimize exposure to the elements.
Troubleshooting Common Issues
If you encounter bubbling paint, it’s typically a sign of moisture or improper surface preparation. The solution involves sanding down the affected area, re-priming, and repainting. Uneven coverage can be addressed by using thin, consistent roller strokes and applying multiple light coats with adequate drying time between each.
TL;DR
With patience, the right supplies, and careful technique, you can transform an old RV into a stunning home on wheels that looks brand new.
- Preparation is 90% of a great paint job
- Take your time
- Multiple thin coats work best
- Save thousands compared to professional painting
Ready to start your RV transformation? Gather your supplies, follow these steps, and prepare to turn heads on the road!
Pro Tip: Remember, the best RVs aren’t the newest. They’re the ones with the most character. Sometimes, all it takes is a fresh coat of paint to bring that character to life.
Ready to turn heads on the road? Grab your supplies, follow our guide, and get ready to fall in love with your RV all over again. The open road is calling, and your RV looks ready to answer.
Your Next Steps
- Gather your supplies
- Set aside a weekend
- Start your transformation
- Share your success!
No professional experience is required. Just patience, passion, and a little DIY spirit.
Happy painting, and may your travels be as smooth as your new RV exterior!
Share Your Journey We’d love to see your RV transformation! Tag us on social media [@nomadic.tortoise] and join our community of DIY travelers.
Frequently Asked Questions
How long does RV paint last?
A DIY paint job can last 5-10 years with proper application and maintenance. After enough time, a fresh coat of paint may be necessary. Without the decals, you need to clean, scuff, and paint.
Can I paint my RV in my driveway?
Yes, but choose a calm, dry day with little wind. We painted our RV in the middle of a campground without issues!
Do I need professional experience?
No! With patience and careful preparation, anyone can achieve great results.
How much does professional RV painting cost?
Professional paint jobs typically cost $3,000 to $5,000, compared to the roughly $250 we spent on our DIY paint job.
