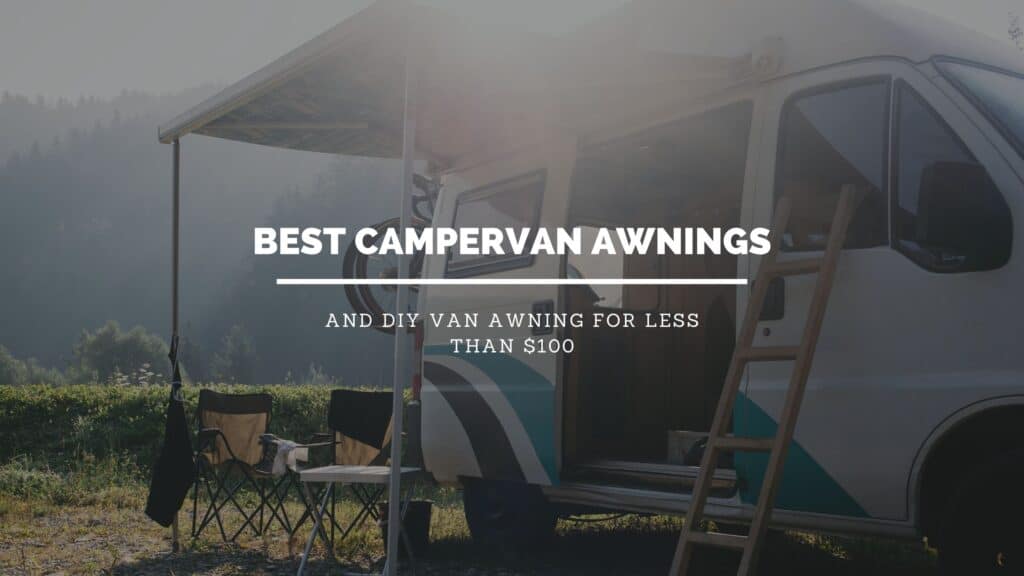
Part of traveling in a van is not having a lot of living space. Even with the tallest, longest vans on the market, you only have so much room to move around. So extending that living space to the outdoors is essential for making long-term travel possible. The easiest way to do that is by having a campervan awning.
Campervan awnings provide a shady place to be outside in the summer and a dry spot when it rains for days on end.
Whether you are in the market to buy a van awning for your campervan or looking for a cheap DIY solution, we got you covered.
ARB Retractable Awning For Campervans
Price: $402
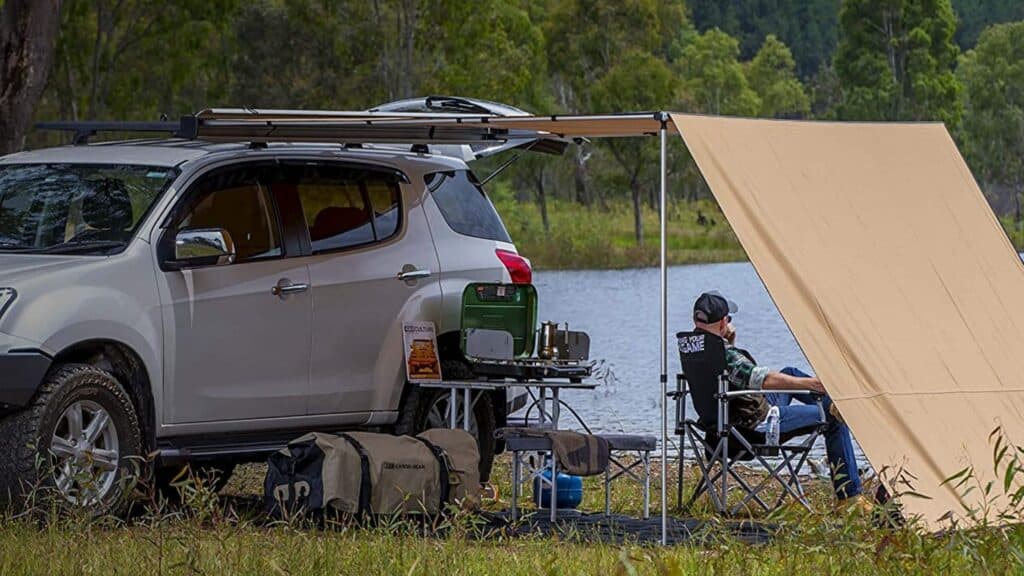
ARB is a well-known name in the offroading community due to their well-made products. The ARB Retractable Awning is designed to be mounted to your campervan’s roof rack. You can also get optional LED light strips built into the awning’s underside to light up your extended living space. Or an optional sunshade that attaches to the end of the canopy and stretches down to the ground.
When not in use, the ARB Awning retracts into a PVC protective bag to protect the awning from the elements. They also come with height-adjustable telescoping legs to adjust the campervan awning angle to get more shade when the sun is low.
Pros:
- Quick to deploy.
- Waterproof and UV protection.
- Comes with an awning storage cover that will protect it from the elements.
Cons:
- At six and a half feet by just over eight feet, the ARB Retractable awning does not provide much shade.
- Have to have a roof rack to mount to.
MoonShade Awning For Campervans
Price: $325
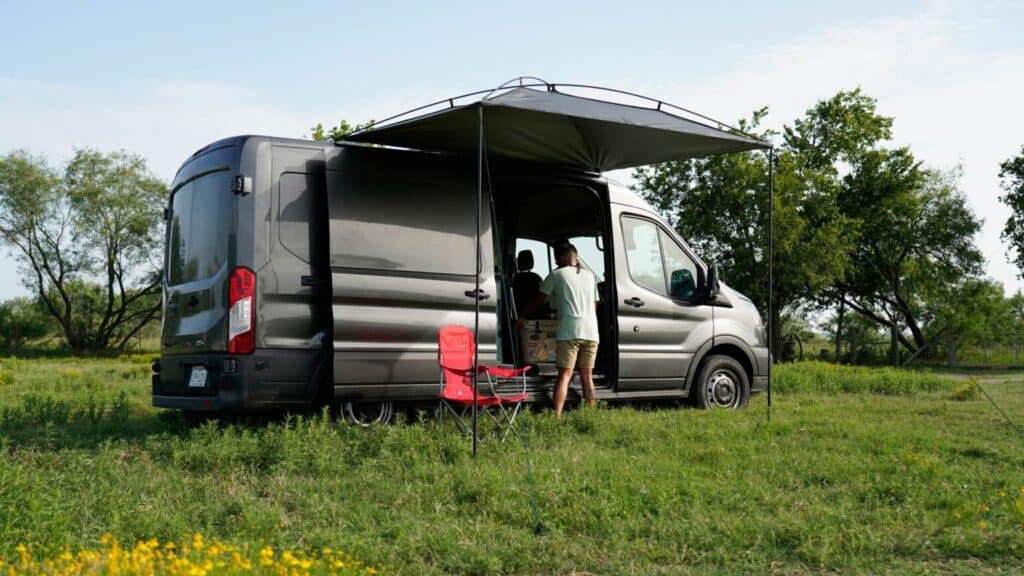
The MoonShade Awning is an excellent option if you do not want to mount anything permanently to your campervan or if you do not have a roof rack. MoonShade awnings can attach to your campervan via various mounts that they sell through their website.
There are adhesive mounts that stick to the side of your van, magnetic mounts, roof rack mounts, and even large suction cups that secure directly to the side of your vehicle. When not in use, MoonShade awning folds down to about the size of a yoga mat and only weighs eight pounds. When deployed, the MoonShade awning is nine feet by seven feet.
MoonShade awnings will need to be stored inside your campervan when not in use due to not being permanently installed.
Pros:
- Lightweight, weighing only 8 pounds.
- It folds down to a small size for easy storage.
- Easy to attach thanks to a variety of mounting points available.
- Simple to set up.
Cons:
- Have to store inside your campervan when not in use
- High price
Suggested Reading: How To Insulate Your Van
Thule Hideaway Campervan Awning
Price: $1,000
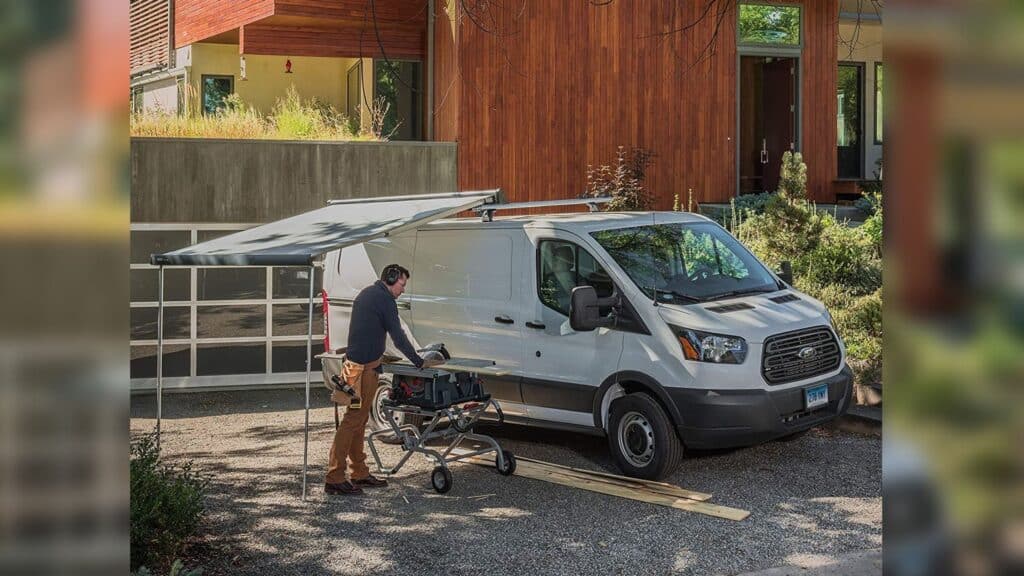
Thule Hideaway campervan awnings are like the type of awnings you see on production RVs. With a hard protective cover, springs that keep the fabric in tension, and a lightweight all-aluminum design, Thule awnings are a high-quality awning for your campervan.
Thule hideaway awnings can be mounted to a roof rack or any vertical surface. Meaning if you do not want your campervan awning to be high off the ground, you have the option to mount the awning directly to the side of the van.
Pros:
- A hard protective shell keeps the awning protected from UV and weather damage.
- Comes in both eight and a half foot and ten-foot lengths.
- It can be mounted to either a roof rack or any vertical surface.
Cons:
- High Cost
- Does not come with mounting hardware
- Can be difficult to install.
Fiamma Campervan Awning
Price: $1,350
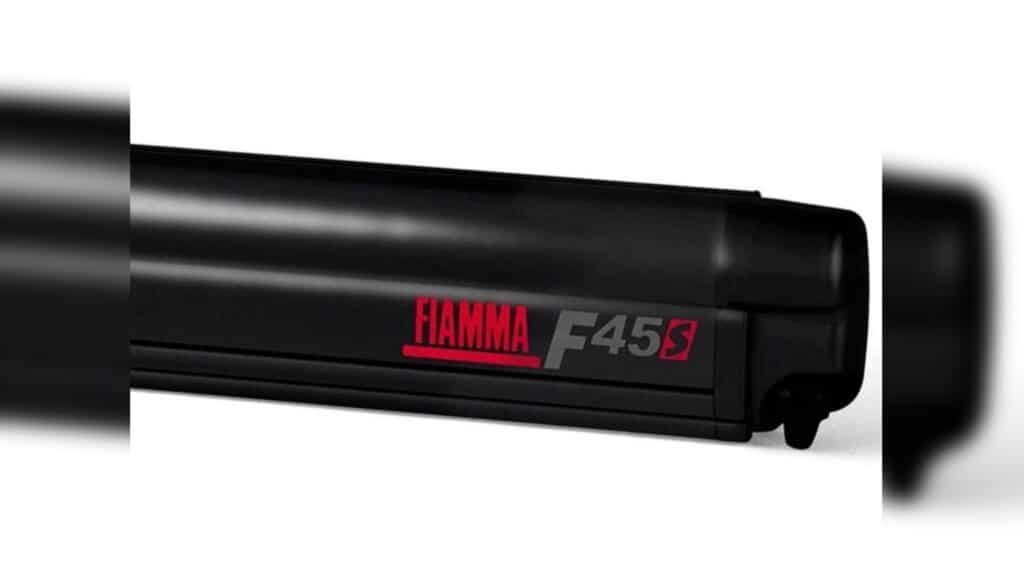
Fiamma is one of the most popular options for campervan awnings and by far the most expensive. The Fiamma can be mounted to either a roof rack or a vertical surface, depending on what model you choose. Fiamma also has optional mounting brackets that mount to a roof rack made of 8020 or unistrut. Making for easy installation if you built a custom roof rack for your campervan.
The legs that Fiamma awnings use can be used either as freestanding or attached to the side of your campervan for extra support. The canopy extends with a manual crank on the side of the protective housing and can be upgraded to an electric motor to extend the awning with the press of a button.
Pros:
- Optional electric motor
- Can be installed on roof racks made of 8020 and unistrut
- UV protected
Cons:
- Have to order extra mounting brackets for your make and model of van
- Very high price for much of the same functionality as cheaper options.
DIY Campervan Awning For Less Than $100 – Our Pick
When we started to plan our Ford Transit campervan conversion, we knew we wanted an awning that could extend our living space. It needed to be easy to set up, fast to take down, be durable. Most importantly, it needed to just work without any hassle.
We also did not want to drill holes through the side of our van to mount the awning, as any holes in a campervan can eventually become a water leak. That meant it would have to be either a detachable awning or one that could be mounted to our custom roof rack.
The only issue is that our roof rack is almost nine feet off the ground on our high-roof Transit van. Making it so that we would have to carry around a step stool to deploy or put away any awning that we mounted.
After searching and problem-solving, we came up with a simple solution that met our criteria. It works, is durable, and is fast to put up and take down.
How To Make A Campervan Awning
Total Cost: $95
Parts List:
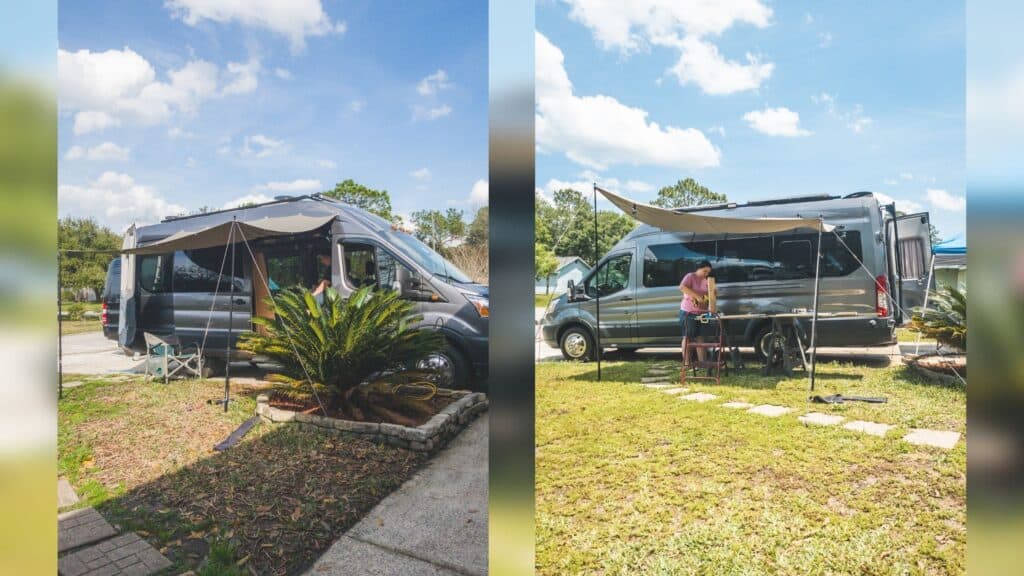
The campervan awning that we ended up going with is often referred to as a “tarp awning.” It is, in our opinion, a great option if you want an awning for your campervan that is easy to put up, takedown, and durable. The best part is that when the awning is not in use, you can easily store all the components inside your van, making for less air drag on the outside of your vehicle.
It does not matter what type of sunshade you use with this setup. Currently, we use a rectangular canvas tarp that is waterproof for rainy days. On sunny days though, the canvas tarp heats up and can trap heat, so we plan to add a more traditional sunshade to our collection for days when rain is not expected. Sunshade martial will not heat up the same way canvas tarps do.
To attach the sunshade to the side of the van, we use stand-up paddleboard suction cups. At first, we tried magnets but could not find any that could withstand the sunshade flapping in a light breeze. We have had no issues in any type of weather with the SUP suction cups. They even come with clips that can attach straight to the eyelets on the sunshade, making for an easy setup.
Pros:
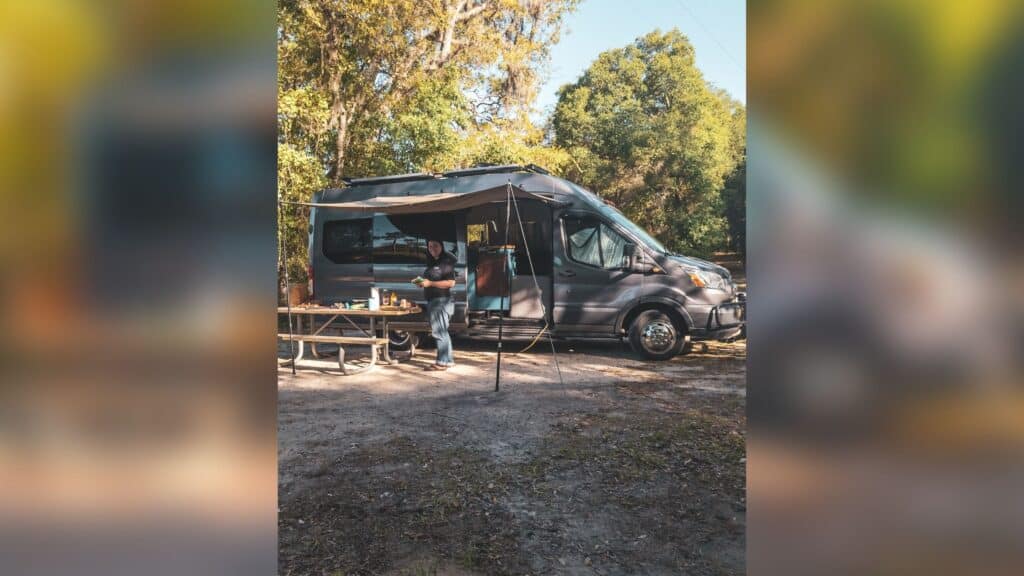
- Easy to set up: To set up the awning, all you need to do is attach the sunshade to the side of the campervan with the suction cups. The tarp poles connect to the sunshade via the eyelets found along the outside edge. Then secure the tarp poles using guylines and stakes to support the awning.
- No complicated installation: with using suction cups to attach the campervan awning, there is no need to permanently mount anything, no drilling holes, and no complicated installation.
- Durable: After several months of using our campervan awning while traveling, we have not had any issues with parts breaking. Even if something breaks, it will not cost much to get replacements.
- Customizable: Because the campervan awning is not mounted permanently to the side of the van, you can move the awning to where you need it. We have had our campervan awning set up on the passenger side, the driver’s side, and even set up for shade in the rear of the van. If you carry spare SUP suction cups, you can even span your sunshade across two campervan parks next to each other.
Tips: We leave the SUP suction cups attached to the sunshade at all times to speed up the setup.
Cons:
- Have to have storage space to store the awning and tarp poles when not in use.
Conclusion
Extending your living space to the outdoors with a van awning will help make your travels more comfortable.
We have been using our DIY van awning for several months of travel and find that it works perfectly for us, meeting all of our needs. In our opinion, all van awnings are essentially the same things when stripped down to basics. They provide a shady place to relax and work outside and help shelter you from rain when the weather isn’t all sunshine.
Whether you want to spend the money for a top-of-the-line van awning or if you would rather spend less on a DIY van awning. So that the savings can go to other parts of your van build, there are plenty of options out there.
